How to Send Before-and-After Photo Reports in ZartonAI
Collect job photos from your crew and the customer’s own phone, then send a clean PDF that puts the before beside the after
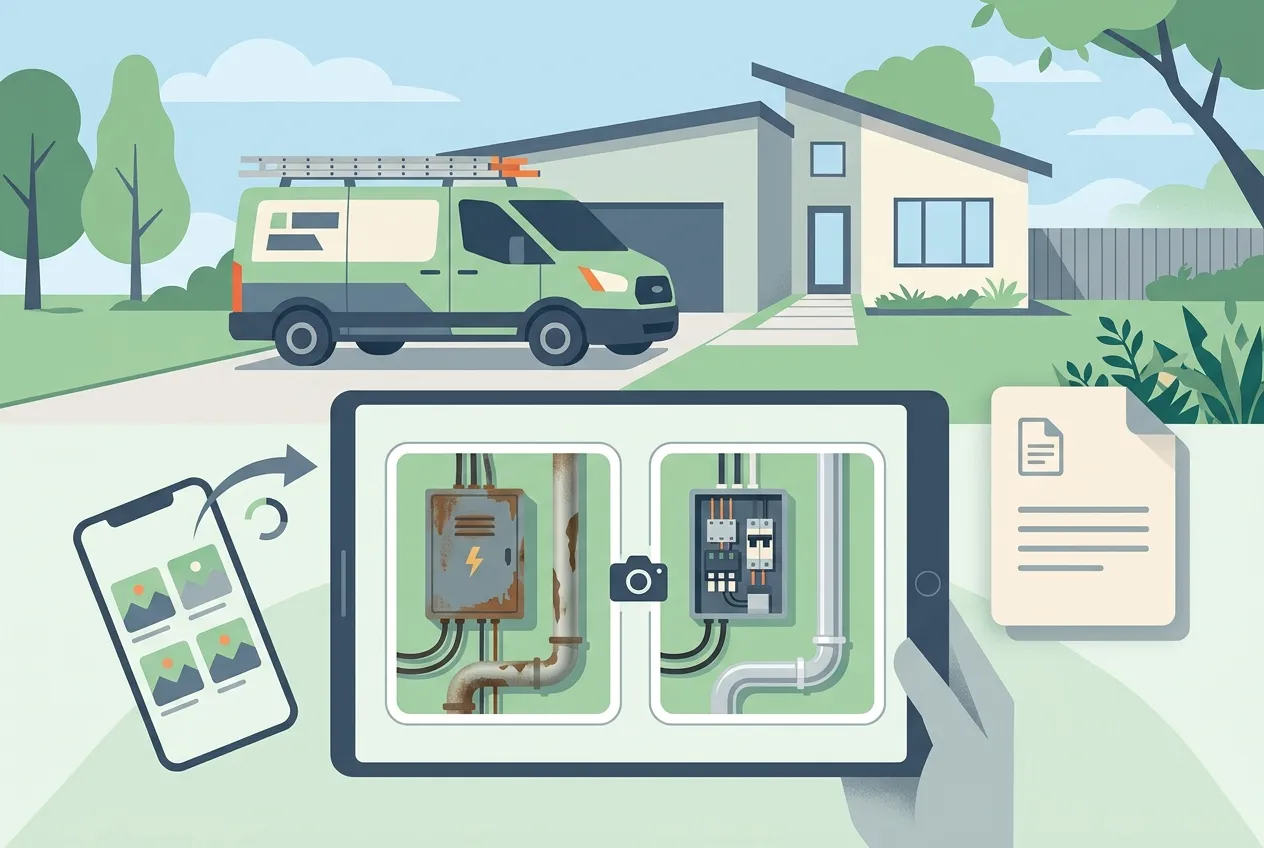
Your crew did beautiful work. The rusted panel is gone, the new one is labelled and tidy, the drywall is patched so well you can’t find the seam. The customer comes home, glances at it for ten seconds, and a month later can’t remember what the old one looked like — right when the invoice is due or a neighbour asks who did the job.
This guide shows you how to make a before-and-after photo report in ZartonAI. You will collect photos from your crew and from the customer’s own phone, keep them on the job sorted by stage, and turn them into a clean PDF that puts the “before” beside the “after” — then email it to the customer when you are happy with it.
Why before-and-after photos are worth the extra minute
For electricians, plumbers, HVAC companies, auto body shops and contractors, photos do three jobs at once. They show the value of work that is often hidden behind a wall or under a hood. They protect you when someone later asks whether that crack, stain or dent was there before you arrived. And they sell the next job, because a customer with a tidy report in their inbox is far more likely to forward it, or to call you again.
The problem is that job photos usually live in five different camera rolls. ZartonAI keeps them on the job itself, labelled as before, during, after or document, so the report almost writes itself.
What goes into the report
| Part of the report | Where it comes from |
|---|---|
| Before photos | Photos on the job filed under the “before” stage |
| After photos | Photos on the job filed under the “after” stage, shown beside the before ones |
| During photos (optional) | Photos filed under “during”, if you choose to include them |
| Summary | A short account you write for the customer, or the job’s scope if you leave it blank |
| Job details | The services the job was for, the crew and the dates |
How to make a before-and-after photo report, step by step
- Take the before photos on the first visit. Before anyone touches anything, photograph the problem and the area around it, and add the photos to the job’s files under the before stage. Every file on a job carries a stage — before, during, after or document — and an optional caption, so a note like “corroded main breaker” travels with the picture.
- Ask the customer for photos when you can’t be there. For a leak, a dent or an old unit you haven’t seen yet, send the customer a photo request from the job. ZartonAI makes a link they open on their phone to upload several photos or documents at once, with no account to create. You write what you need in your own words — “a few photos of the leak and the ceiling below it” — and choose the stage the photos belong to. The link is emailed to the customer’s address on file (or another address you give), and a QR code for it appears on the job’s page too, handy when the customer is standing in front of you.
- Set how long the link stays open. A photo request link stays open for 14 days by default and accepts up to 20 files. You can set anywhere from 1 to 90 days and from 1 to 50 files, so a one-off snapshot and a whole renovation folder both fit.
- Let the photos land on the job. Whatever the customer uploads goes straight into the job’s files under the stage you chose, and you are told when it arrives. The file list shows who sent each one — your staff, the customer through a photo request, or a generated report — so you always know where a picture came from.
- Capture during and after photos as the work progresses. Add photos under during for the parts that will disappear behind a wall, and under after once the work is finished. Try to shoot the after photos from the same spots as the before ones; the report places them side by side, and matching angles make the difference obvious.
- Generate the report. From the job, create a before-and-after report. Give it a title (it defaults to “Before & after”), write a short summary for the customer or let it use the job’s scope, and decide whether to include the during photos. ZartonAI builds a PDF with the before photos beside the after ones, plus the services, crew and dates, and saves it in the job’s files. Nothing is sent at this point. The report needs at least some before or after photos on the job to work from.
- Review it, then send it. Open the PDF and read it as the customer will. When you are happy, send it: ZartonAI emails the job’s most recent report to the customer with the PDF attached, either with a short standard message or with a personal note you add. You can also send it to a different address than the one on file — a property manager or an insurer, for example.
Tips and common mistakes
- No before photos, no report. The single biggest mistake is starting work before anyone takes a picture. Make “before photos” the first line of every job checklist.
- Use the right stage. A photo filed as a document won’t appear in the before/after report. If a picture is missing from the PDF, check its stage.
- Be specific in photo requests. “Send photos” gets you three blurry shots of a hallway. “The water heater label and the pipes above it” gets you what you need to quote.
- Don’t store file links. Links to job files expire. Share them when you need to, but keep the files on the job rather than pasting links into notes.
- Write the summary for the customer, not the crew. “Replaced the 100A panel with a 200A panel and labelled every circuit” beats a line of part numbers.
- Send while the work is fresh. A report that arrives the same day as the invoice reminds the customer exactly what they are paying for.
Do it with Claude
ZartonAI works with Claude through the Zarton connector, so you can handle job photos and reports in plain language from your phone. Claude can list the photos on a job, ask a customer for photos, build the report and send it when you say so. Anything that reaches a customer — the photo request email and sending the report — only works when “Allow actions” is switched on for the connection, and Claude sends a report only after you have seen it. Try requests like:
“What photos do we have on the Ruiz roof job? Did the customer send any?”
“Ask the customer on JOB-21 for before photos of the leak and the ceiling below it. Keep the link open for a week.”
“Make a before-and-after report for JOB-21 and include the during photos.”
“The report looks good — send it to the customer with a note thanking them for their patience.”
“Send the Elm Street report to the property manager’s address instead.”
See what else Claude can do on our Works with Claude page.
Frequently asked questions
Does the customer need an account to upload photos?
No. The photo request link opens on their phone and lets them upload several photos or documents at once without signing up. The files land on the job.
How long does a photo request link stay open?
Fourteen days and up to 20 files by default. You can choose between 1 and 90 days and between 1 and 50 files.
Is the report sent automatically when I create it?
No. Creating the report only saves the PDF in the job’s files. It is emailed to the customer only when you choose to send it.
Can I include photos taken during the work?
Yes. When you create the report you can choose to include the during photos alongside the before and after ones.
Can I send the report to someone other than the customer?
Yes. You can send it to a different email address, such as a property manager or an insurance adjuster, and add a personal note.
Related reading
- How to Run Jobs from First Call to Final Invoice in ZartonAI — set up the job your photos and report belong to.
- How to Invoice Customers and Get Paid in ZartonAI — send the bill alongside the proof.
- How to See If a Job Made Money with Job Costing in ZartonAI — close out the job with its real numbers.
Let your work speak for itself. Snap the before photos on your next job and send the customer a before-and-after report from ZartonAI the day you finish.
Try it at zartonai.com







Comments
No comments yet — be the first to share your thoughts.
Join the discussion