How to Set Up a Customer Portal in ZartonAI
Give every customer a private account on your own website to follow their jobs, sign estimates and see what they owe — without calling the office
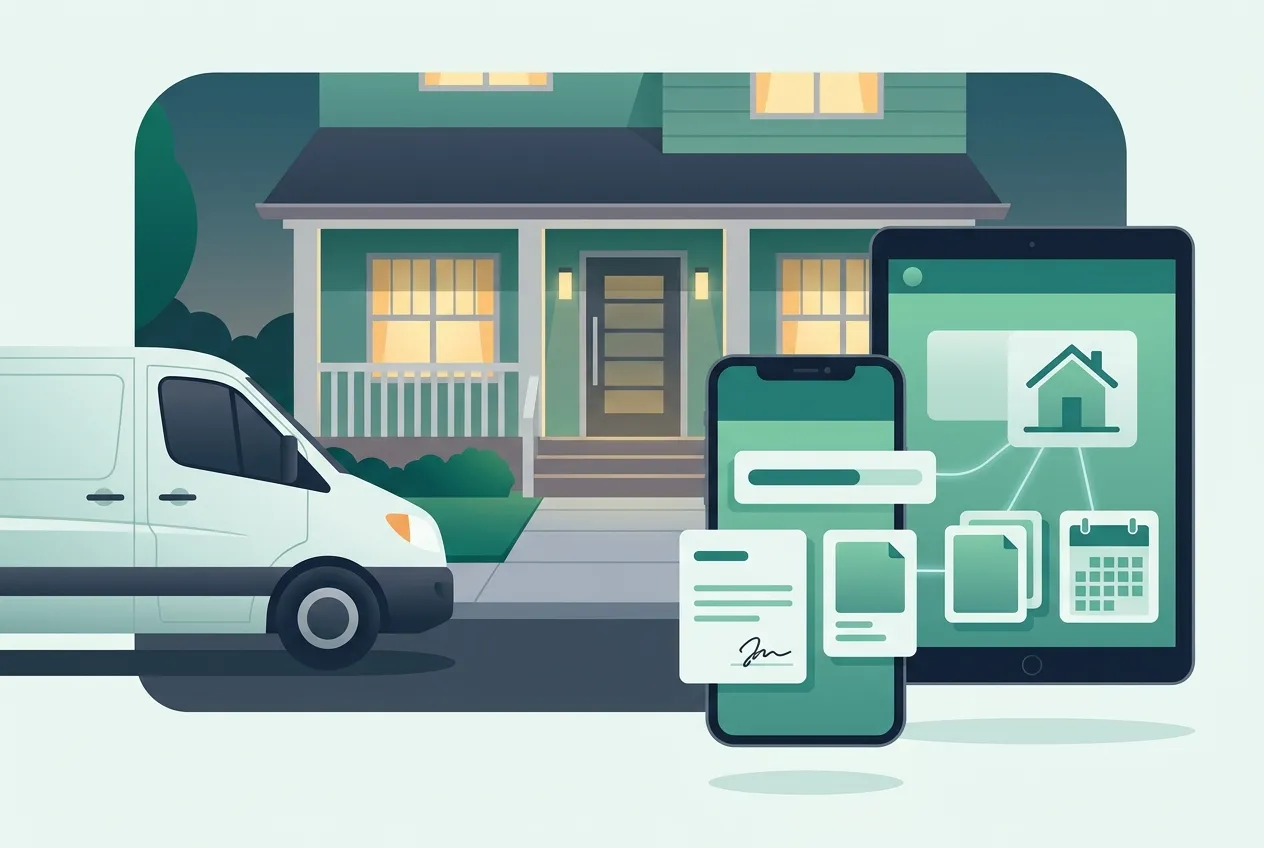
“Did you get my estimate?” “Can you resend that invoice?” “What’s the address you have on file for the rental?” If your office phone rings with questions like these every day, your customers aren’t being difficult — they just can’t see what you can see.
This guide shows you how to set up a customer portal in ZartonAI: a private account on your own website where each customer signs in to follow their jobs, open and sign estimates and proposals, check invoices and their balance, and keep their own contact details up to date. You decide exactly what the portal shows, and you invite customers straight from their job record.
What the customer portal is
The portal lives on your business’s own website at /account — your domain, your header and footer, your business name. Customers sign up with an email address they confirm, then sign in whenever they like. Nothing about it says “ZartonAI” to your customers; it looks like part of your site.
It is one portal per website, and its settings decide what is inside. A service business might show jobs, estimates, invoices and documents. A shop might show purchases and a watchlist. You can mix and match, and even add your own kinds of records, such as warranties or installation records.
When the portal is switched on, the estimate, invoice and proposal emails you send link to your own website instead of a generic page. The customer opens the document inside your site, picks between options or ticks extras with the total updating as they go, accepts or declines, signs with their finger or mouse, and downloads the PDF. Links you sent before you turned the portal on keep working.
How to set up a customer portal in ZartonAI, step by step
- Check your business details first. The portal, your emails and your documents all show the business name, email, phone and address from your website settings. Make sure they are yours and current before any customer sees them. Replies from customers go to the business email you set here.
- Turn the portal on. Open your website’s settings and go to the portal settings. Switch the customer portal on. This creates the sign-up, sign-in and account pages at /account on your site. While it is off, those addresses are simply “page not found”.
- Start from a preset. Pick the preset that matches your business. Services starts you with jobs, estimates, invoices, documents and contracts. Shop starts you with watchlist, browsed items and purchases. Everything turns on all of it. A preset is only a starting point — you can change any module afterwards.
- Choose the modules customers see. Tick or untick each one: jobs and their progress, estimates, invoices with the customer’s statement and balance, documents, proposals to sign, appointments, messages, profile and address book. Give the account a friendly title of up to 60 characters, such as “Your projects with Ridgeline Electric”.
- Add your own record types if you need them. Any content type can become a portal section. For each one, choose who sees what: mine shows only entries linked to that customer or their jobs (a warranty, an inspection record), while everyone shows all published entries (care guides, a homeowner handbook). Sensitive fields stay hidden from customers.
- Invite a customer from their job. Open the customer’s section on a job and choose Invite to the portal. They get an email with a link to sign up on your website, with their email already filled in and already confirmed, so they only choose a password. The invite is good for seven days.
- Watch who has joined. The same customer section shows the portal address and where each customer stands: Invited, Account set up, and when they last signed in. If an invite expired or got lost, resend it. There is also a shortcut to the portal settings from here.
- Let customers look after their own details. Once in, customers can update their name, phone and password, and keep an address book of up to 20 addresses with a default. The job sites you have on file show there too, but customers can’t edit those, so your records stay right.
- Remove access when it’s time. If a relationship ends or an account was set up for the wrong person, choose Remove access on the customer’s section. That customer can no longer get into the portal.
Which modules to turn on for your trade
| Module | What customers see | Good for |
|---|---|---|
| Jobs | A list of their jobs and a page for each with its progress | Remodels, multi-day installs, body shop repairs |
| Estimates & proposals | Quotes and proposals to open, choose options, sign and download | Anyone who quotes before working |
| Invoices | Their invoices, plus a statement with their balance | Staged billing and repeat customers |
| Documents | Files you share with them | Permits, inspection reports, manuals |
| Appointments & messages | Their bookings and messages with your office | Service calls and maintenance visits |
| Your own types | Warranties, records or guides you publish | HVAC service records, warranty registrations |
Tips and common mistakes
- Don’t link to /account until the portal is on. A “My account” button in your menu or an email pointing to /account goes to a “page not found” while the portal is off. If you later switch the portal off, remove those links too.
- Invite from the job, not by telling people to sign up. An invite links the account to the right customer and skips the email check. A customer who signs up alone is matched by their confirmed email, so ask them to use the address you already have.
- Start small. Jobs, estimates and invoices answer most phone calls. Add documents, appointments and custom record types once customers are using it.
- Use “mine” for anything personal. Warranties and service records should be scoped to the customer. Keep “everyone” for public guides.
- Payments are not online yet. Customers can see what they owe and their statement, but you still record payments in ZartonAI the way you do today.
Do it with Claude
ZartonAI works with Claude through the Zarton connector, so you can set up and adjust the portal in plain language. Changing website settings affects your live site, so it only works when you have switched on “Allow actions” for the connection. Claude reads your current settings first and tells you what will change. Try requests like:
“Is our customer portal on? What does it show right now?”
“Turn on the customer portal with the services preset and call it ‘Your projects with us’.”
“Add our warranties to the portal so each customer only sees their own.”
“Take messages out of the portal for now, but keep jobs, estimates and invoices.”
Before Claude puts a “My account” link in your header or an email, it checks that the portal is on, so you don’t end up with links that go nowhere.
Frequently asked questions
Do my customers need a ZartonAI account?
No. They create an account on your website with their email address and a password. Everything they see carries your business name, not ZartonAI.
Can customers accept and sign an estimate in the portal?
Yes. With the portal on, estimates and proposals open on your website. Customers can choose between options, tick extras with the total updating, accept or decline, sign and download the PDF.
Can customers pay invoices online through the portal?
Not yet. Customers can see their invoices, balance and statement, and you record payments in ZartonAI as usual.
What happens if an invite expires?
Invites last seven days. Open the customer’s section on the job and resend the invite. You can see whether they are invited, set up, and when they last signed in.
Can I stop a customer from signing in?
Yes. Choose Remove access on that customer’s section and they can no longer get into the portal.
Related reading
Fewer “did you get my…” calls, starting this week. Turn on your customer portal and invite your next customer from their job.
Try it at zartonai.com


Comments
No comments yet — be the first to share your thoughts.
Join the discussion